- upload photo for quotation
- Prices From only £9.99
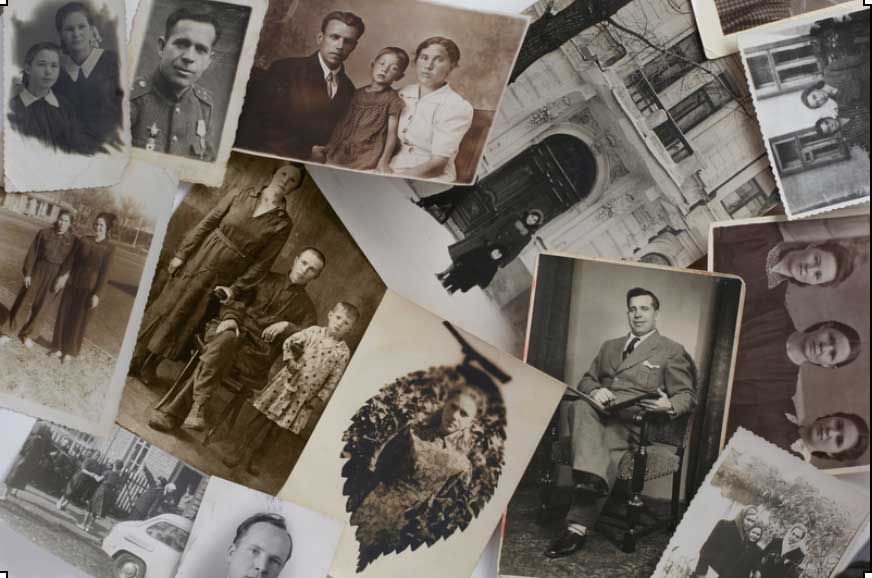
You can never replace your old photos. Once they’re gone, you lose those priceless moments forever. This is why preserving old photos is so important.
Thankfully, technology has made it a lot easier to store your photos safely. It’s even enabled us to restore old photographs once they’re in a digital format.
Here’s a short beginner’s guide to preserving old photos digitally. Keep reading to find out what steps you need to take to make sure your photos always remain with you.
Scanning is the superior method for preserving old photos. Here are the steps you can follow to get the most out of a flatbed scanner.
Carefully remove your old photos from the album. Start off by wiping both the scanner and the photos with a microfiber cloth to get rid of any dust. This will help you ensure a higher quality scan.
It’s best to scan multiple photos in bulk to save time, especially if you have a large stack of photos to preserve. Lay the photos side by side on the scanner. Make sure you line them up as straight as possible because this will help you later.
For the resolution, select 300 dpi. This will ensure your image matches up to photos from modern cameras. Also, save the scan in a TIFF (.tif) format to avoid compression.
Once you scan the photos, you’ll need to open up the scan on your computer and crop to the edges of each individual photo. The straighter you laid the photos on the scanner, the easier it will be to crop them. Finally, save each individual photo in Jpeg format set to the highest quality.
Once you have digital versions of each photo, create a backup to ensure your photos remain safe. An external hard drive is fine, but there are many ways to back up to the cloud as well.
Taking pictures of your old photos may seem like the most convenient way to digitize them. But scanning your photos provides you with the most detailed results. Unlike taking a photo, scanning eliminates optical distortion and provides consistent lighting.
However, if you don’t have access to a scanner, you can choose to take a photo with a camera, smartphone, or tablet.
First, find an area with good lighting so you can avoid using flash. To minimize distortion, position your camera directly above the old photo, not at an angle. Don’t use zoom, and make sure your camera is in focus before taking the picture.
You have a couple of options for preserving old photos digitally.
The most convenient method is to use your smartphone or camera to take a photo of your photo. However, remember that scanning your photos will give you the best results in the end.
Also, keep in mind that no scan will ever be flawless. Do your best to remove dust, but don’t worry if the scan is not quite as clear as the original.
If your newly preserved photos need restoration, get a free quote and assessment from us. Also, visit our FAQ page if you have any questions about the restoration process.